If there’s a room we show a lot of love to, it’s the kitchen. If it’s not about the best butcher trolleys for small spaces, then we’re on the hunt for an inspiring twist on the traditional farmhouse kitchens. Now, what happens when you have an existing kitchen unit and rather than refurb the kitchen entirely, you want to freshen up what’s already there?
You may have come across the term ‘upcycling’ many times before in interiors. It’s the beautiful intersection between making sustainable choices at home that would otherwise have been bought new. Upcycling is essentially the concept of giving an ‘old’ product or item a new lease of life by turning it into something ‘new’. It’s a creative process that mixes materials and items together and repurposing them for everyday use.
Upcycling the kitchen cabinet: step-by-step guide
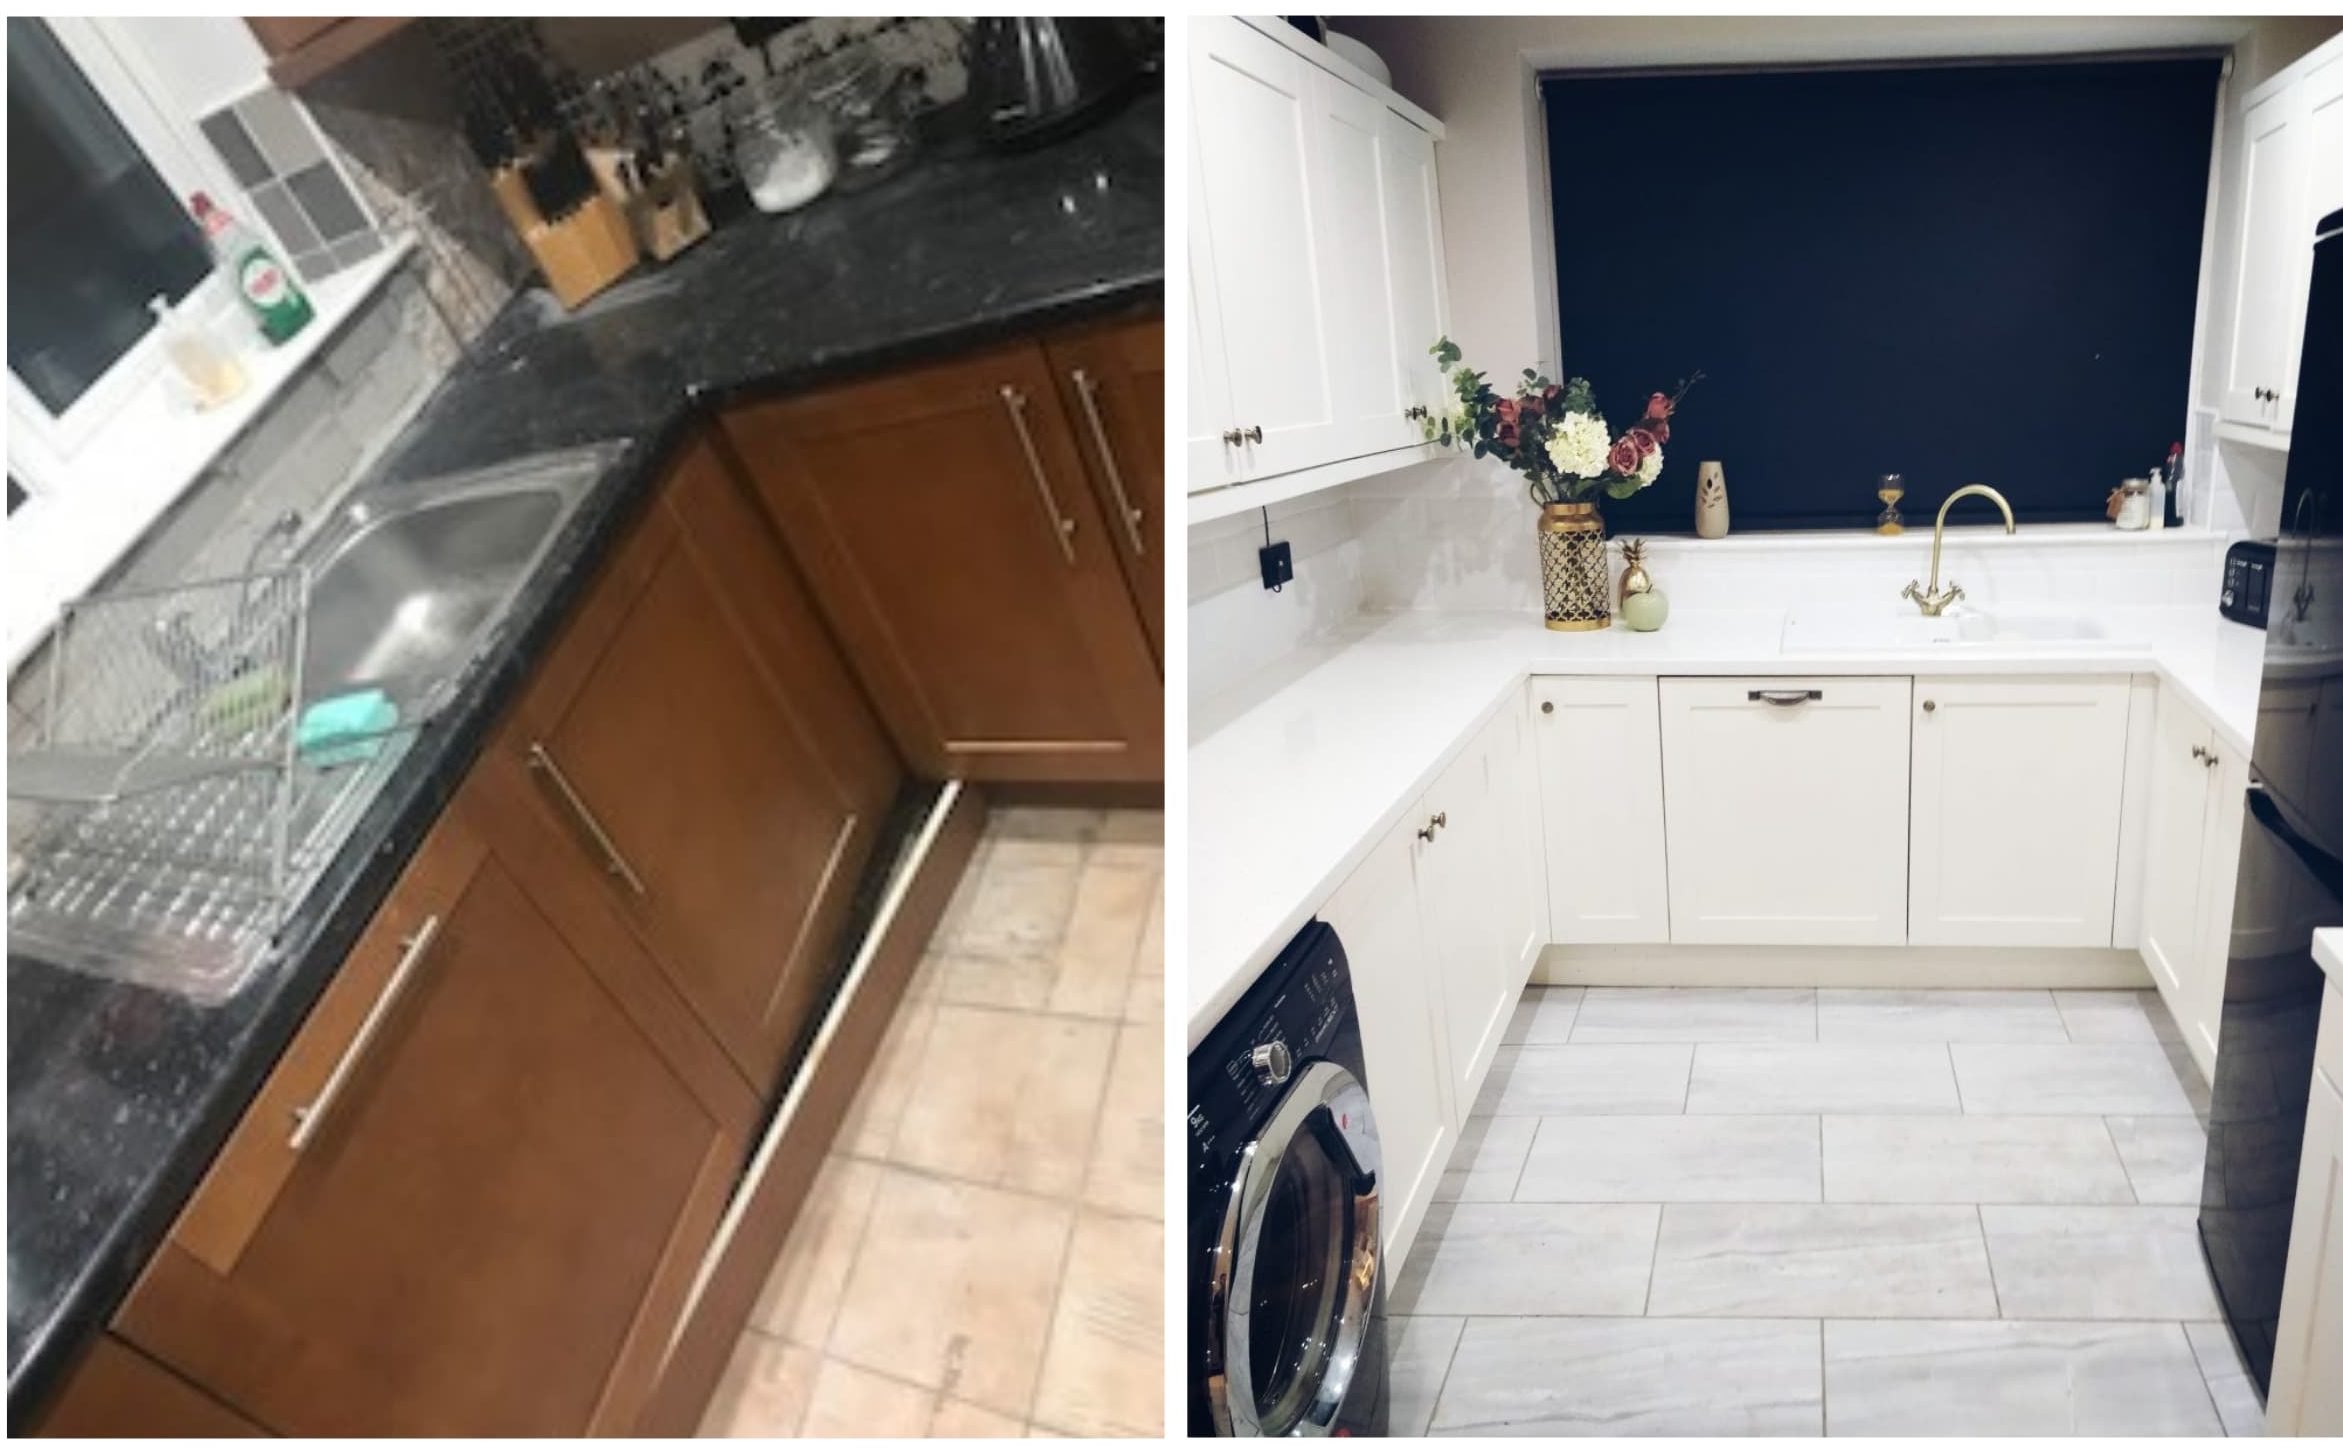
One of my latest upcycling projects was completed last year; I took my old kitchen unit that was already fitted in our home and upcycled it into a new glistering white modern kitchen. The process itself takes time, with some planning beforehand, you can be finished in a relatively short amount of time; as ballpark timeframe, it took me two weeks from start to finish including the floor tiling and having the sink installed.
As much as it can save on costs, upcycling can feel like a massive accomplishment once it’s all finished. And, plus makes a good story to tell when friends and family come round. If you’re looking for a step-by-step guide on how to upcycling your kitchen, we’ve got you.
Step 1. Take off the kitchen cabinet doors
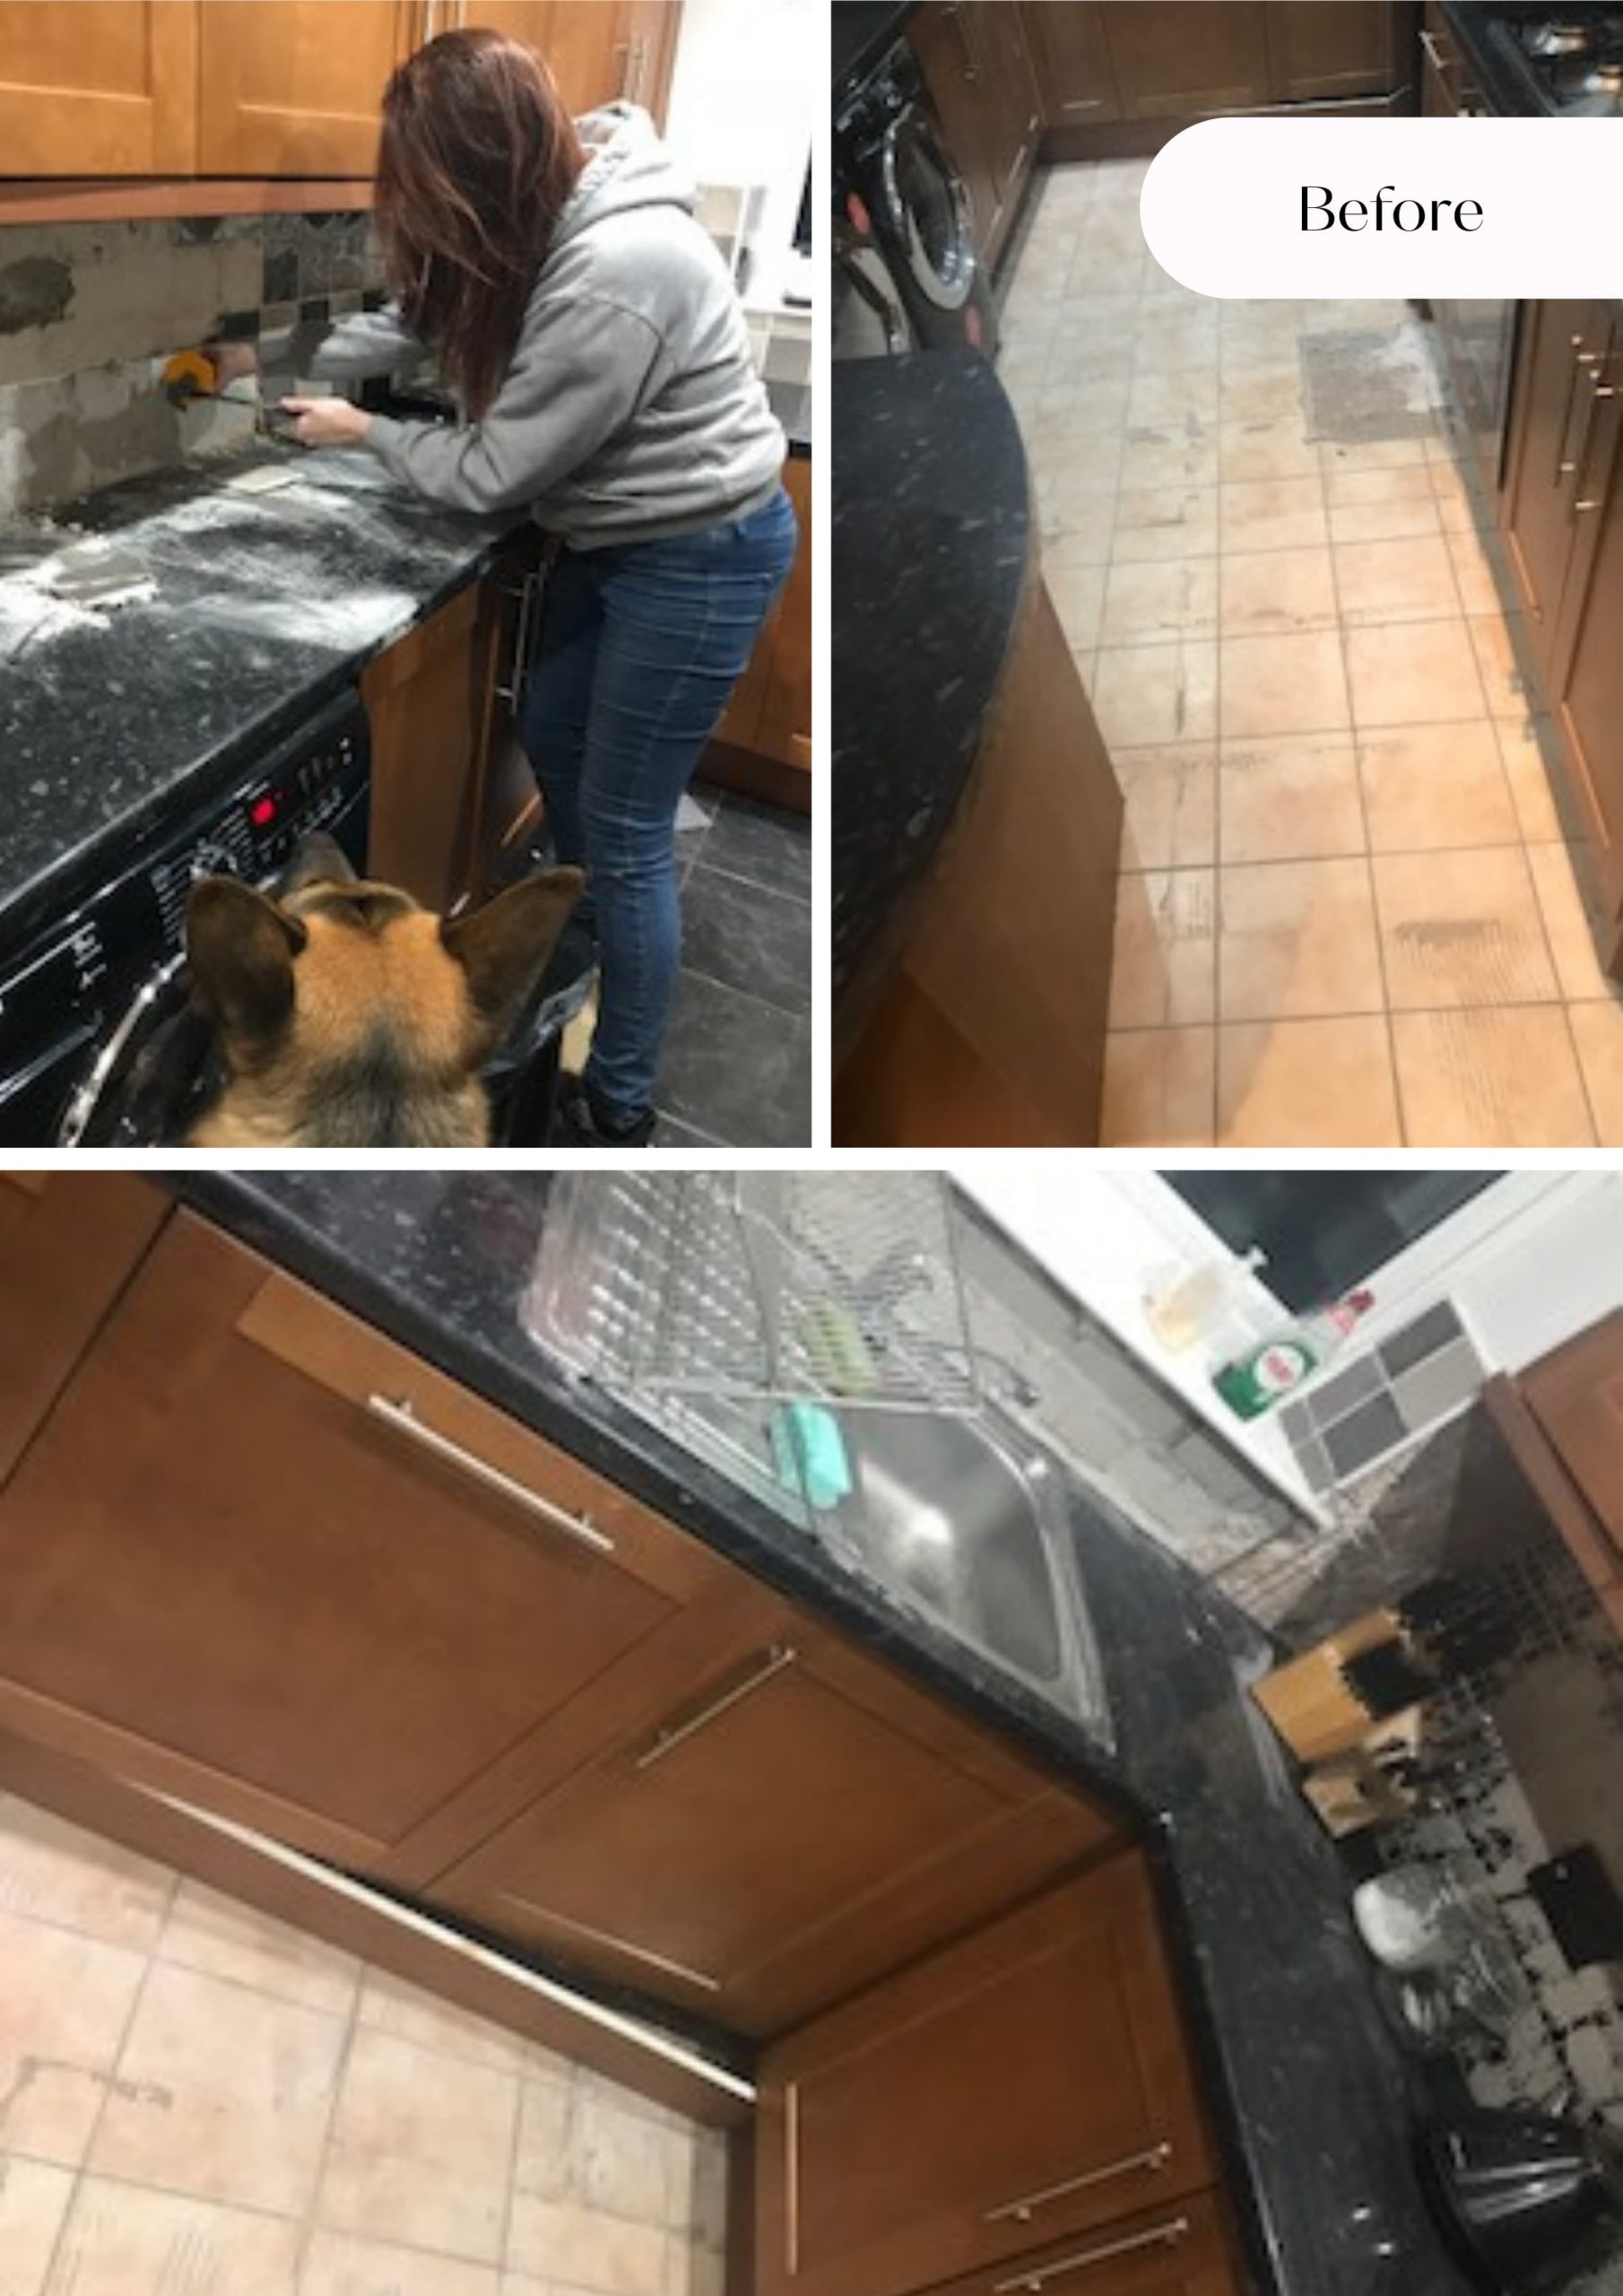
I started by taking all the doors off from each unit, as well as their handles and hinges. The main reason for doing this is to make sure the paint that’s later applied is neat and can be easily applied all over. I gave the units and the doors a light sand to give the primer something to grip on to when applied. Then, I used filler to fill one of the holes in each door; the unit previously had long door handles that had two screws but I wanted the upcycled version to have smaller handles, so one screw would be fine.
Tip: Consider over-filling the holes that you want to be covered on the doors, this way you’re able to sand them down to be nice and flat with no dips or holes in them. Although it takes more time and can be fiddly, the smooth result will be worth it.
Step 2. Paint the doors
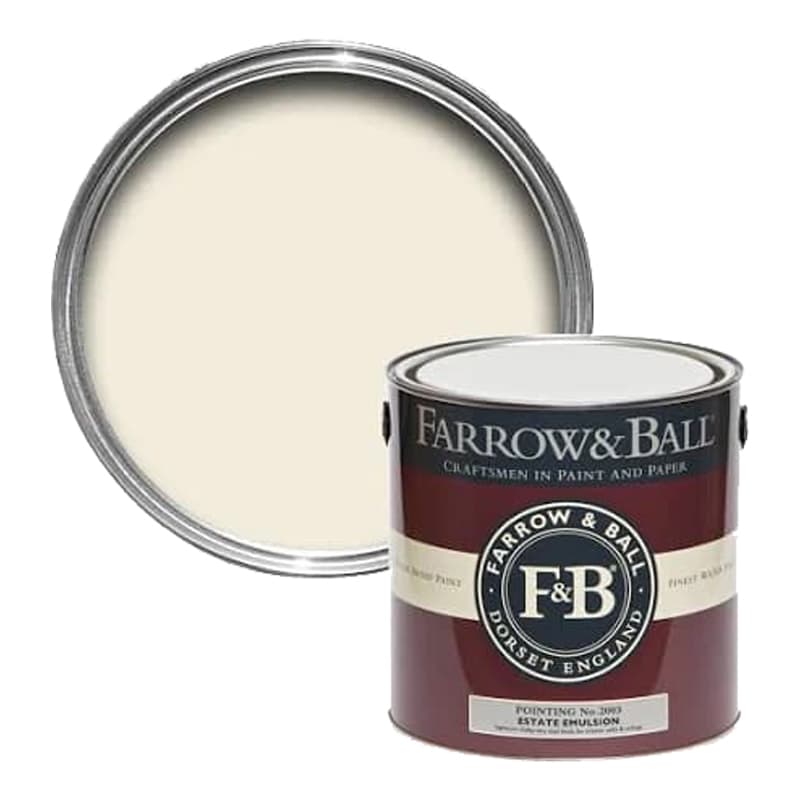
Once the doors were sanded down nicely, I applied a light primer using a foam paint roller on all the doors and units. After each had dried, I used Farrow & Ball’s Pointing Eggshell as the primary colour. As my units were shaker style, I had to make sure the edges and corners were done fully before I went in with the foam roller to make sure there were no paintbrush lines; I applied 3 coats but 2 would have been fine in the end.
Tip: Foam paint rollers are preferable as they are less likely to leave any streaks, and are best used lightly to keep the painting even when applied on a small surface area.

Step 3. Add new door handles
As mentioned previously, I wanted to change up the door handles of the cabinets and so it wasn’t until after I applied the paint and it had all dried when I added new handles that I had bought from Amazon. After they were screwed on, I put the door back on the units.
Tip: If I were to do the project again, I would go to the likes of Buster & Punch or a nice boutique place for hardware pieces as they are much easier to come by now than before, and can make a massive difference in the look and feel of the space.
Step 4. Lay the tiles
For the tiling, I removed all the kitchen tiles and bought classic white subway tiles to go all the way around. That said, I originally wanted Herringbone style but I hired someone to fit the tiles for me and they mentioned there wasn’t enough of a gap between the worktop and cabinets. Side note: Personally I think they just didn’t want to do it and in some way, I’m not surprised… it takes a fair bit of patience. Then came the floor tiles, I bought large rectangular tiles and I hired someone to lay them.
Tip: The floor tiles have been a bit of a nightmare and have proven difficult to keep them as I bought them, unfortunately. Before purchasing, consider how easy and durable the tiles will be to clean.
Step 5. Add the final pieces: worktop and sink
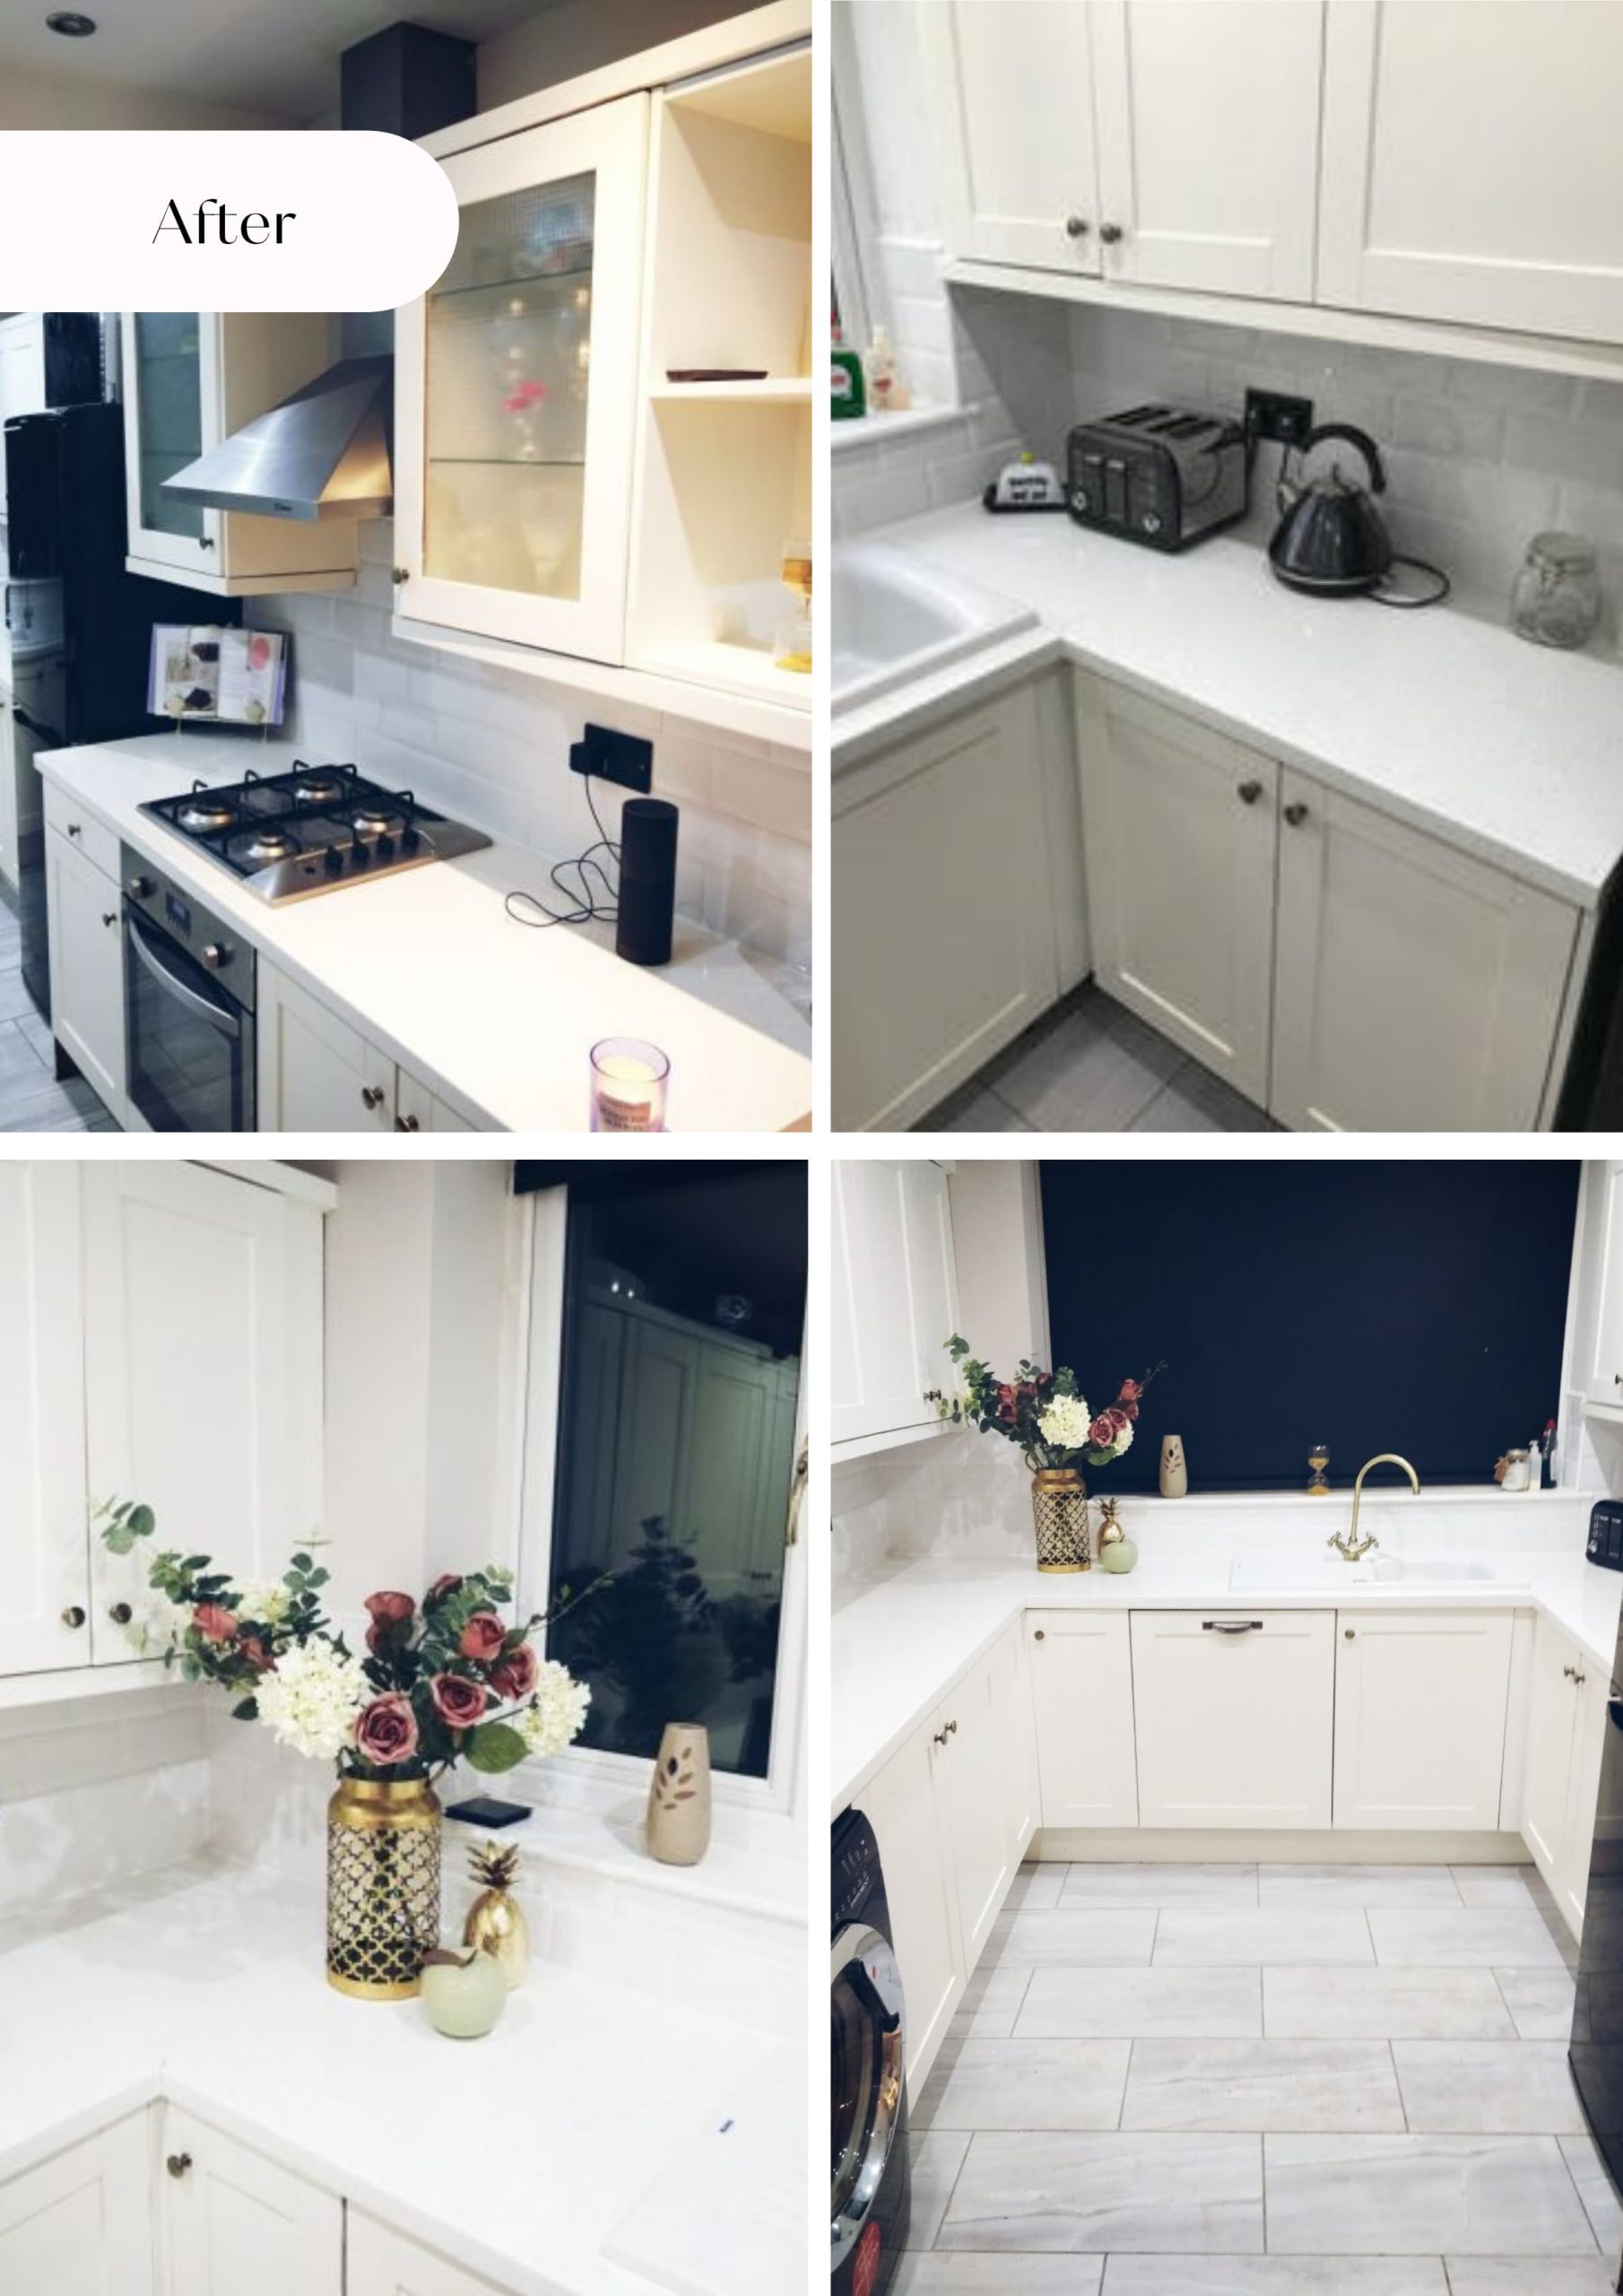
Finally, I installed a white laminate worktop and added a white ceramic sink which set the whole look off that I had envisioned for the kitchen. I bought beautiful gold taps, which were also hard to find at the time of working on this project. Luckily, now you can find stunning golden accents everywhere.
You can also make sure your existing appliances still make the final vision. Old appliances may suddenly become noticeable, but you may not need to buy anything new. Sometimes, you can bring appliances back to life with a little DIY love, such as replacing old switches. Rocker sells some round Rocker switches in a range of colours ideal for mid-sized appliances, such as large coffee machines or the exhaust fan system.
Tip: If I were to upcycle a kitchen again, I would opt for a Qettle boiling water tap to be installed. They tick all boxes of efficiency and do not compromise on style.
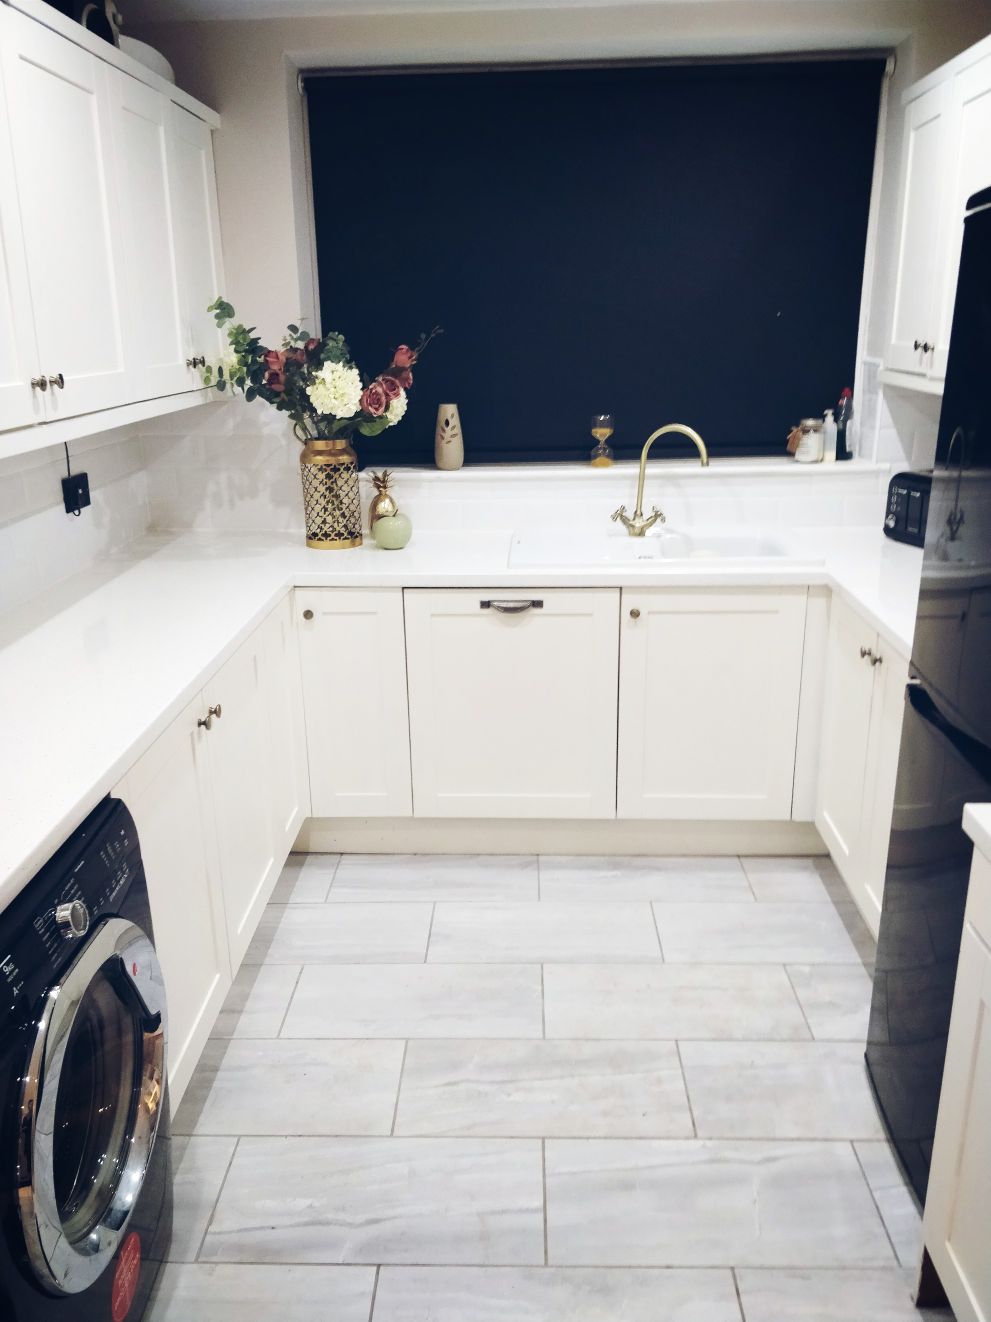
The end result
The result of this project is a kitchen that’s modern and looks completely different from how it was before. It’s one I’m especially proud of and has taught me plenty; from what’s possible with repurposing furniture to what I’d do differently if I were to do it again. As with all these types of projects, it’s getting started that can be the hard part. But the more you do it the more adventurous you become with upcycling old or broken items you have at home, or you’ve found on the likes of eBay or Gumtree.
DIY Checklist
If you’re thinking about upcycling your kitchen and looking for a few essential buys to get you started, here are my recommended products as well as those that I wished I knew about before getting started. If there’s anything that hasn’t been covered and you have questions about before jumping in on an upcycling project, feel free to get in touch and we’ll do our best to guide you.
The difference between recycling and upcycling
A question commonly asked is what the difference between recycling and upcycling is, if at all? The difference between recycling and upcycling lies in the end result. Recycling breaks down materials such as plastic, paper, metal, or glass, and is remade and repackaged into a new product. Take French Connection’s latest range, where the designers have used plastic bottles to stunning Persian-style rugs. Whereas when you upcycle, you take old or broken pieces of furniture and re-purpose it by dusting it off and adding a bit of magic.